

The Challenge of Extreme Weather for Starlink Mini Installations
With the increasing popularity of Starlink Mini among mobile internet users in North America, the demand for vehicle-mounted installations has surged. However, users often face severe weather conditions such as blizzards in Canada, hurricanes in Florida, or scorching heat in southwestern deserts. These conditions challenge the stability, performance, and durability of the Starlink Mini, especially when mounted on vehicle rooftops.
According to SpaceX, the operational temperature range for Starlink Mini spans from -30°C to 50°C, with wind resistance thresholds varying by installation type. While these limits support general usage, extreme climate conditions still pose significant risks. Therefore, installing a Starlink Mini roof mount without considering weatherproofing can lead to degraded signal quality, component failure, or even hazardous detachment.
This guide offers a comprehensive, professional approach to securing Starlink Mini roof mounts in extreme climates, combining real-world scenarios with data-backed solutions.

1. Risk Analysis: Key Vulnerabilities in Roof-Mounted Starlink Mini Systems
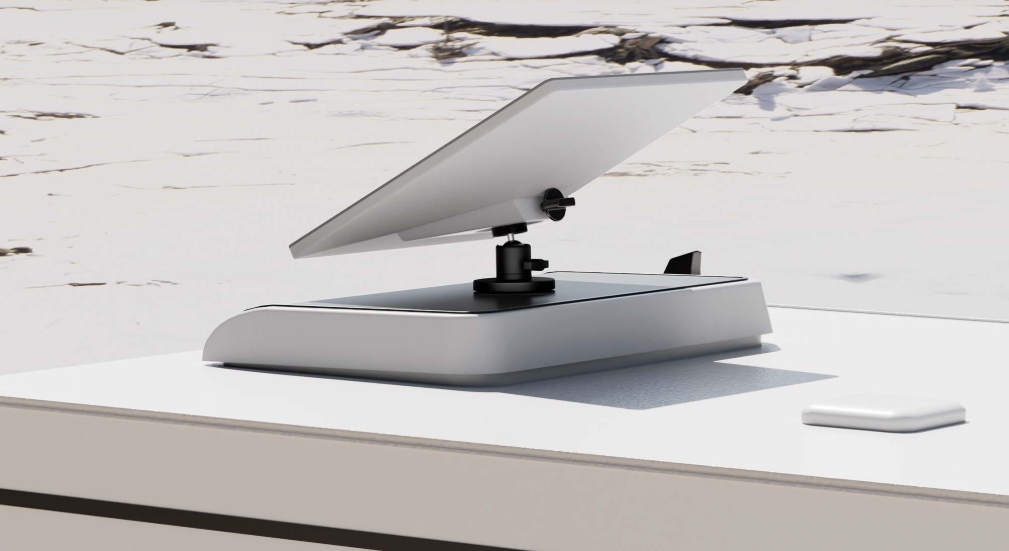
1.1 Wind Drag and Mount Stability
High-speed travel or gale-force winds can generate turbulent airflow around rooftop equipment. Without an aerodynamic design, mounts create excessive drag, which may shift or detach the unit during motion.
To mitigate this, we recommend low-profile, aerodynamically optimized brackets such as those developed by Nxcsxvs. These brackets come with integrated anti-loosening locks and stainless-steel reinforcement points, ensuring reliable anchoring.
1.2 Snow Accumulation and Low-Temperature Impacts
In northern regions like Alaska or the Canadian Rockies, heavy snow and prolonged subzero temperatures can cause signal blockage and internal component strain. Snow buildup obstructs line-of-sight, while low temperatures reduce battery efficiency and responsiveness.
Users should consider tilt-adjustable brackets, allowing manual snow removal. In addition, installing third-party heating kits around the dish or base can prevent icing. Nxcsxvs offers a heater-compatible version that integrates seamlessly with thermal sleeves.
1.3 Heat Exposure and Thermal Management
In southern states such as Arizona or Nevada, rooftop devices are subject to prolonged sun exposure. Excess heat can cause CPU throttling, reduce lifespan, and affect signal stability.
To counter this, select support brackets made from heat-reflective or light-colored materials, like anodized aluminum or powder-coated steel. Additionally, maintain a minimum clearance of 5cm beneath the unit to enhance air circulation and passive heat dissipation.
2. Professional Installation Guidelines: Best Practices for Starlink Mini Roof Mounts
2.1 Support Bracket Selection Criteria
Choose brackets built with high-grade materials such as aviation-grade aluminum or carbon fiber composites. These offer lightweight durability and corrosion resistance. Ensure they are tested against industry standards like MIL-STD-810G (shock and vibration resistance) or SAE J2188 (road safety compliance).
Nxcsxvs provides certified brackets with ISO-grade locking nuts and vibration-dampening pads. These features enhance stability while minimizing stress on both the mount and the vehicle frame.
2.2 Installation Workflow Optimization
Avoid placing the mount over sunroofs or thin roof sections. Instead, target structural roof rails or crossbars for enhanced support. Pre-drill if necessary, using templates provided in the Nxcsxvs mounting kit.
During fastening, apply threadlocker (e.g., Loctite Blue) and use a torque wrench to achieve the manufacturer-recommended tightness (typically 6- 8Nm). Post-installation, perform a test run at low speed to detect any abnormal sounds or movement. Optionally, use a controlled wind source like a blower to simulate wind drag resistance.
2.3 Maintenance Routine Checklist
Conduct a monthly check on all bolts and joints for signs of loosening. In winter, remove salt buildup to prevent corrosion, especially around fasteners. In summer, inspect for sun damage or rubber degradation. Replace any weathered gaskets or pads to maintain a tight seal.
3. Real-World Use Cases: User Insights in Harsh Climates
Case 1: Arctic Adaptation in Alaska
A user based in Fairbanks modified a Starlink Mini setup by adding a 30°-angled adjustable mount combined with a thermal sleeve. The solution maintained a snow-free surface and consistent signal throughout a -40°C storm. Post-installation feedback noted zero dropouts and stable uplink speeds.
Case 2: Hurricane Season Resilience in Florida
During the hurricane season, a Florida-based van user equipped their setup with a dual-lock system bracket from Nxcsxvs. This configuration resisted gusts up to 120 km/h and maintained structural integrity. Moreover, after three months of seasonal rain and wind, the bracket showed no corrosion, thanks to its marine-grade finish.
4. Strategic Implementation: From Purchase to Performance
4.1 Step-by-Step Deployment Plan
Needs Assessment: Use our downloadable risk evaluation template to assess your vehicle roof material, local climate, and travel conditions.
Bracket Customization: Select materials and geometry suited to your environment—tilt for snow regions, heat-resistant for southern states.
Hardware Integration: Nxcsxvs offers OEM-compatible adapter plates and API access for integration with vehicle control systems or smart home setups.
Training Support: Our installation guides include a certified two-hour course on ISO-compliant rooftop mounting.
4.2 Return on Safety Investment
For every 10,000 miles traveled, adding proper protection costs less than $60 but prevents damage worth hundreds. Compared to potential legal liabilities or connectivity failures, this minimal investment proves essential.
Data from the Starlink Community Forum indicates that optimized roof mounts reduce service interruptions by over 45% in high-risk zones.
Conclusion: Durable Connectivity Starts With Smart Preparation
Extreme climate conditions demand a serious approach to rooftop Starlink Mini installations. By using professional-grade mounts, adhering to a structured installation process, and maintaining the system regularly, users can enjoy uninterrupted connectivity, regardless of season or geography.
As a leading provider of advanced Starlink accessories, Nxcsxvs invites you to explore our certified product line, complete with thermal, aerodynamic, and anti-loosening features.
Call to Action
Ready to upgrade your Starlink Mini for all-weather reliability? Visit our store for exclusive launch discounts or contact our support team for a personalized installation plan.